With Bluejeans as a video conferencing platform, Mediasite may not have any tie in to it. As a result, meetings that are recorded within Bluejeans will require uploading to Mediasite manually. From a high level this process consists of three basic steps.
Recording with Bluejeans
1. Record the Meeting with Bluejeans
Recording a Meeting with Bluejeans is as simple as clicking the Start Rec button in the upper left-hand corner of the meeting window. As a meeting moderator you would have control of the recording including highlights and ending the recording. When the meeting has concluded, you can either end the recording manually or simply leave the meeting.
It is also possible to set up Auto Recording in Bluejeans so the meeting will be recorded as soon as the moderator joins.
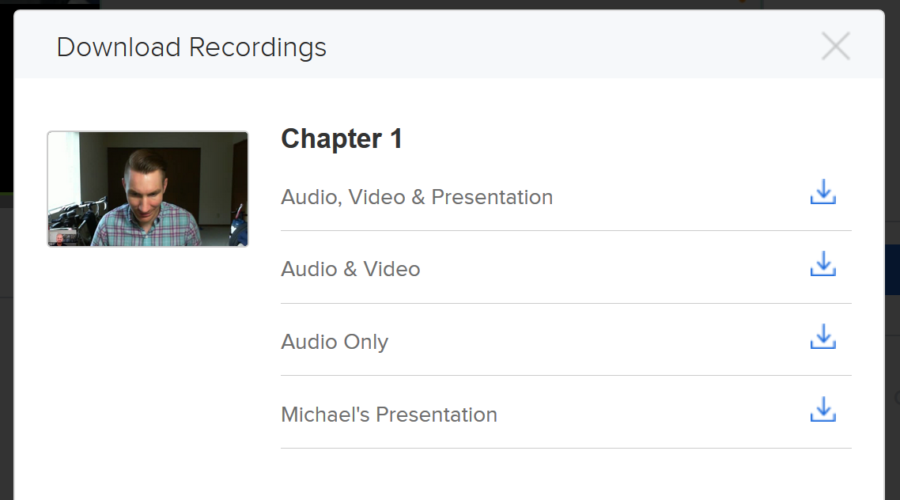
2. Download the Meeting Recording
Meetings that are recorded with Bluejeans are automatically saved and processed to your cloud account. To download the meeting recording:
- Log in to your Bluejeans account and select the Recordings menu.
- Open the meeting recording you would like to download.
- Choose your download option.
- Audio + Video + Presentation
- Audio + Video
- Audio Only
Once the download has completed you can move on to uploading it to Mediasite.
3. Upload the recording to Mediasite
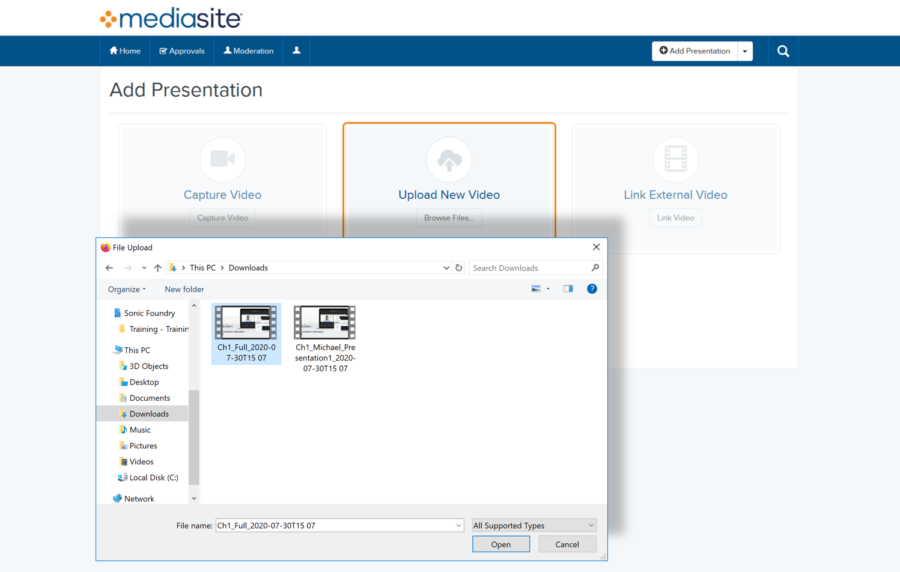
Now that the meeting has been downloaded, it needs to get uploaded to Mediasite. This will follow the same steps for any video upload within either My Mediasite or the Management portal.
Within My Mediasite:
- Click Add Presentation and choose Upload New Video.
- Locate the video file on your Computer. Then click Open.
- Enter a video title, description and destination then click Create Presentation.
- Once the file completes processing it will be available to view and share.


