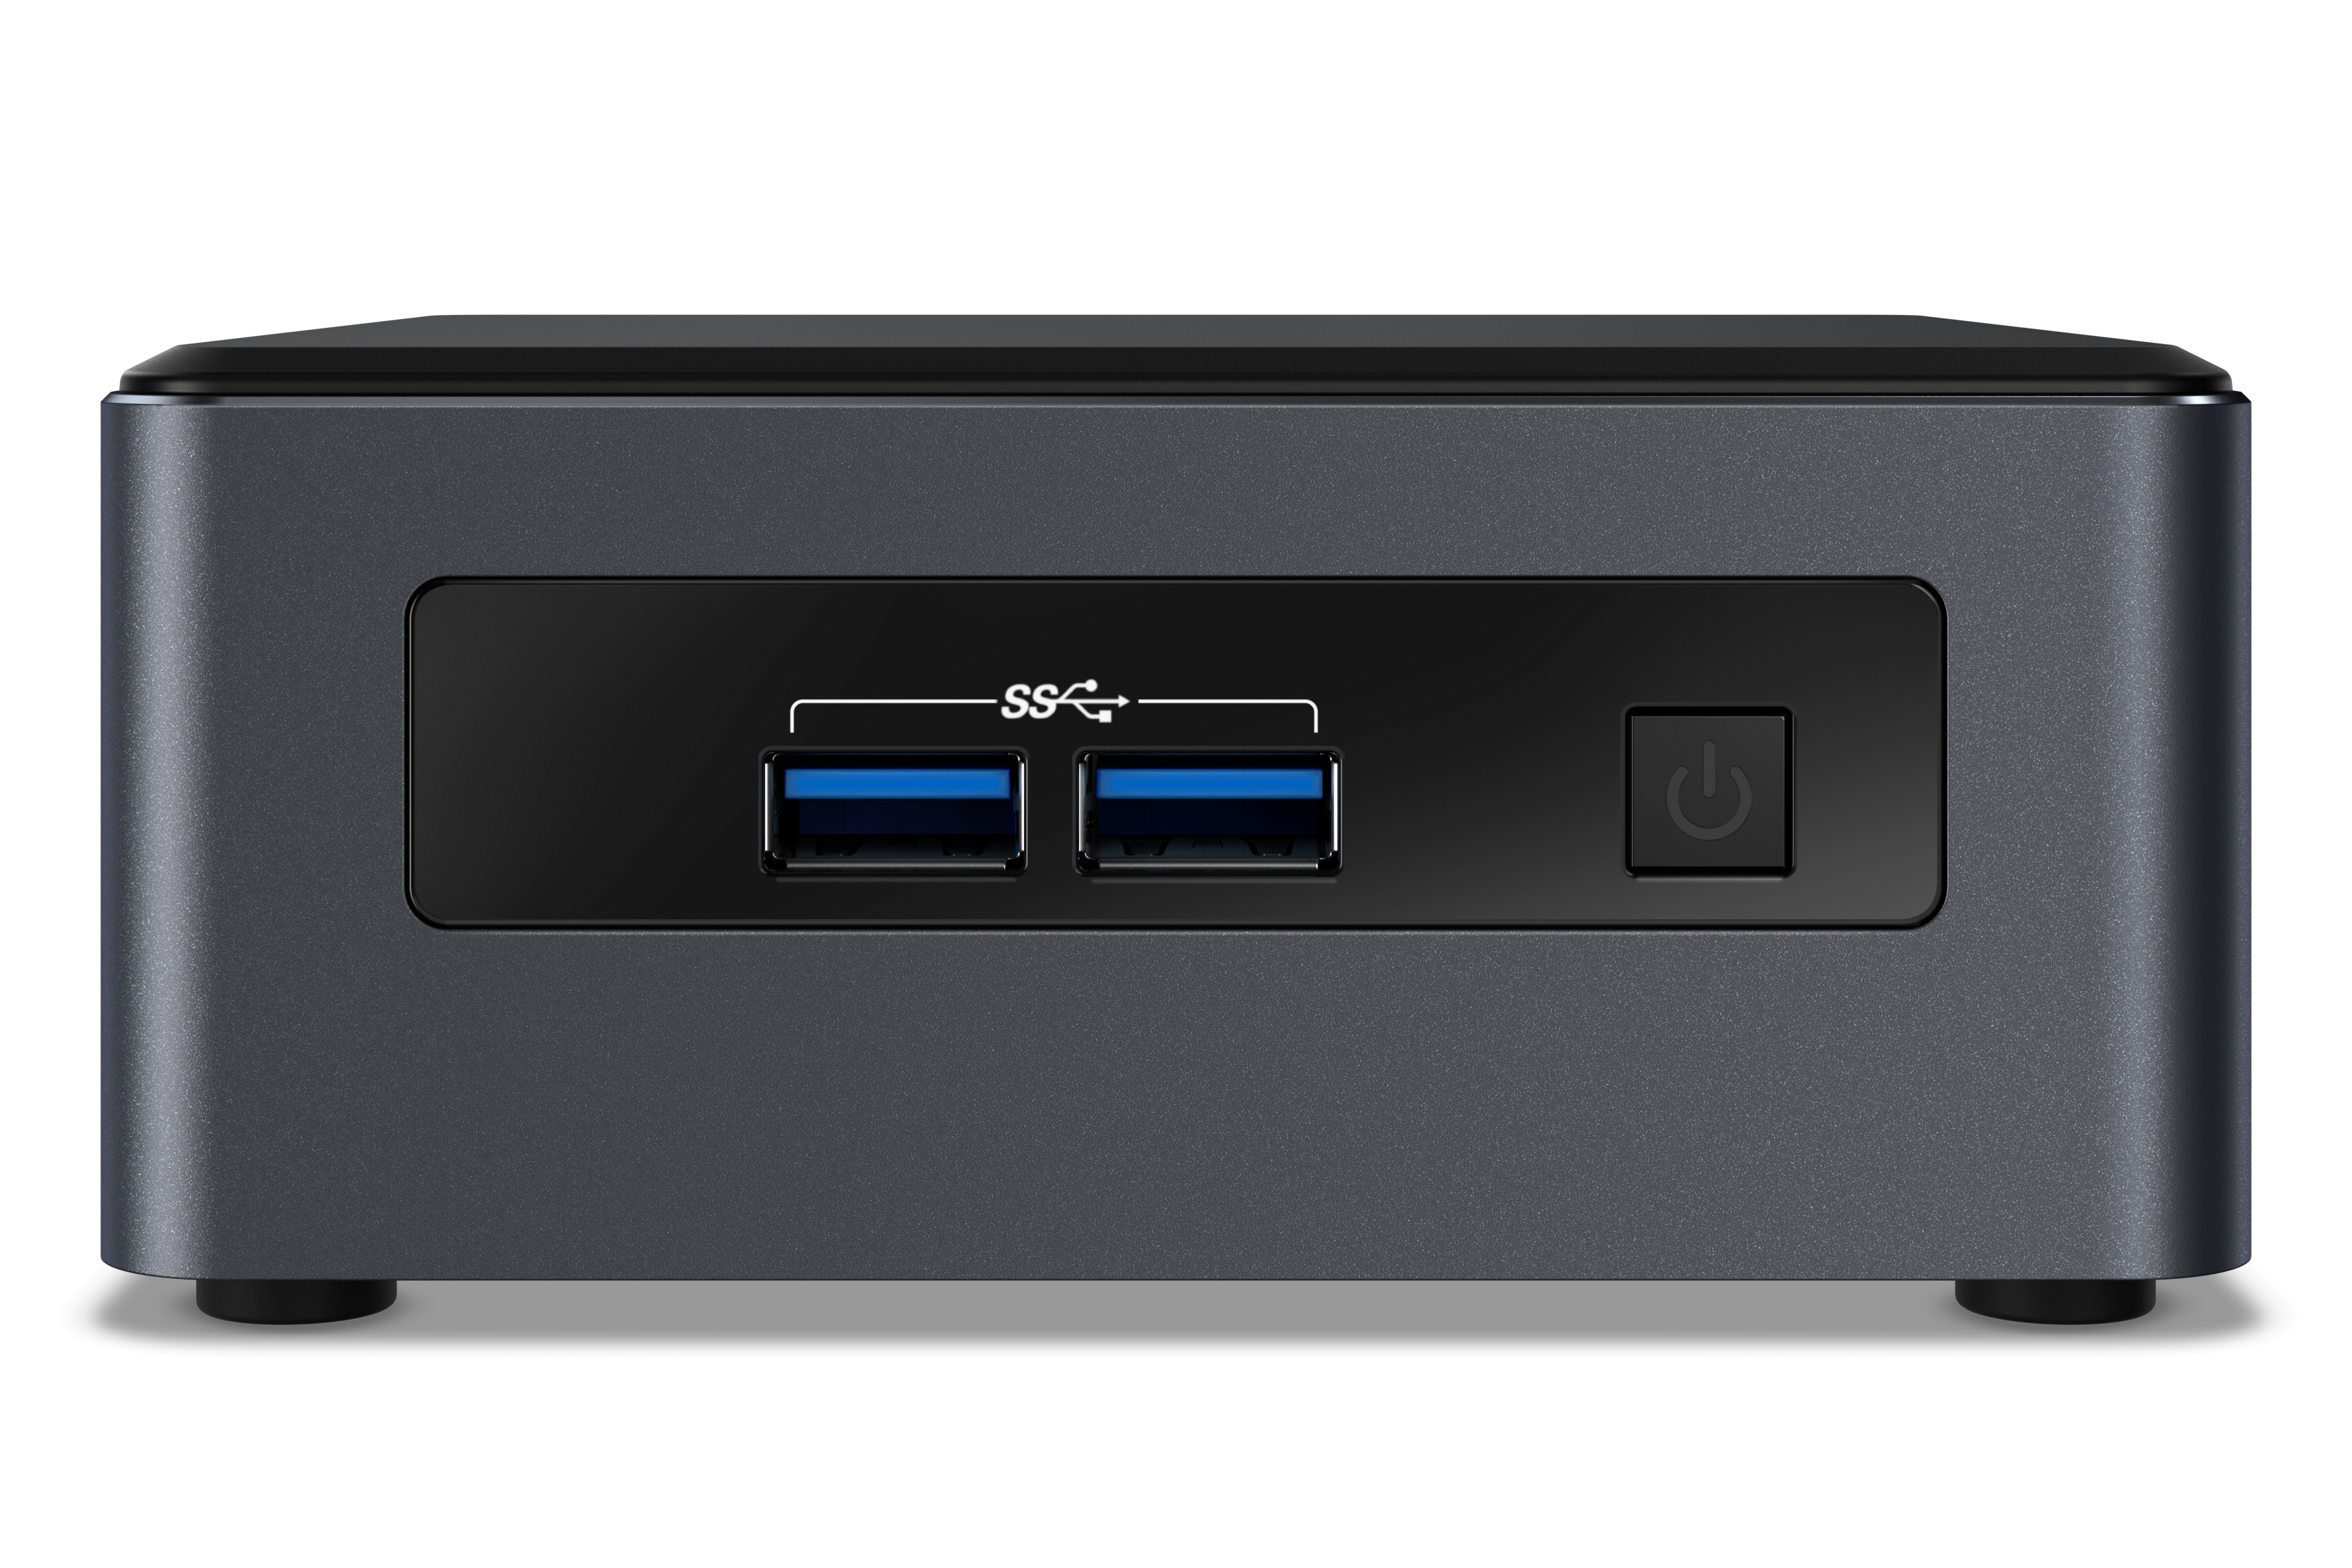
RL Mini
The plug-and-play Mediasite RL-Mini makes it easy and affordable to equip smaller teaching and eLearning spaces, or rooms without built-in AV sources, with automated video capture.
The RL-Mini contains 2 USB ports in the from of the unit that are used for maintenance purposes. The below diagram of the back of the recorder will help you set up devices correctly. Items in bold are the most commonly used.

- Power cable – The power cable supplied with the recorder plugs in to a standard wall outlet.
- HDMI (output) – A monitor or screen can be connected to the HDMI port to monitor video and audio.
- Network – Used for connecting the recorder to the Mediasite server for publishing content.
- USB ports – The USB ports on the RL-Mini are used for all input devices. This includes camera, microphone, content, mouse and or keyboard. Additionally, the USB-HDMI capture dongle can be connected to the to the USB port to connect an HDMI device.
- HDMI (output) – A monitor or screen can be connected to the HDMI port to monitor video and audio.
The RL-Mini is unique in that it comes with a USB-HDMI dongle adapter. this allows you to connect an HDMI device to your recorder via USB. If you have a need, extra dongle adapters can be purchased. The below image is of the sides of the adapter containing the ports. THe most commonly used are listed in bold.

- HDMI input – The HDMI input can be used to connect a supported video, audio or content device.
- HDMI Loop Thru – An additional screen can be connected to the HDMI loop thru port to monitor video and audio.
- 3.5mm Audio line out – Connect headphones or speakers so you can monitor audio directly from the recorder.
- 3.5mm Audio line in – While this can be used to connect a microphone it is not recommended.
- USB Port – This USB port is an output that should be directed to the recorder.
For more details on setting up and configuring your recorder use:


